The screw extruder is a complicated thing to design. So many requirements:
- Parts must be sourceable from McMaster-Carr or Amazon, printed parts to at minimum
- Extruder must fit into the tool area, and cannot be so large and heavy that movement interferes with print quality
- Must use Luer lock 3mm or 5mm syringes
- Must be easily to disassemble so that it can be cleaned
This is the V1 extruder I made the the Jubilee
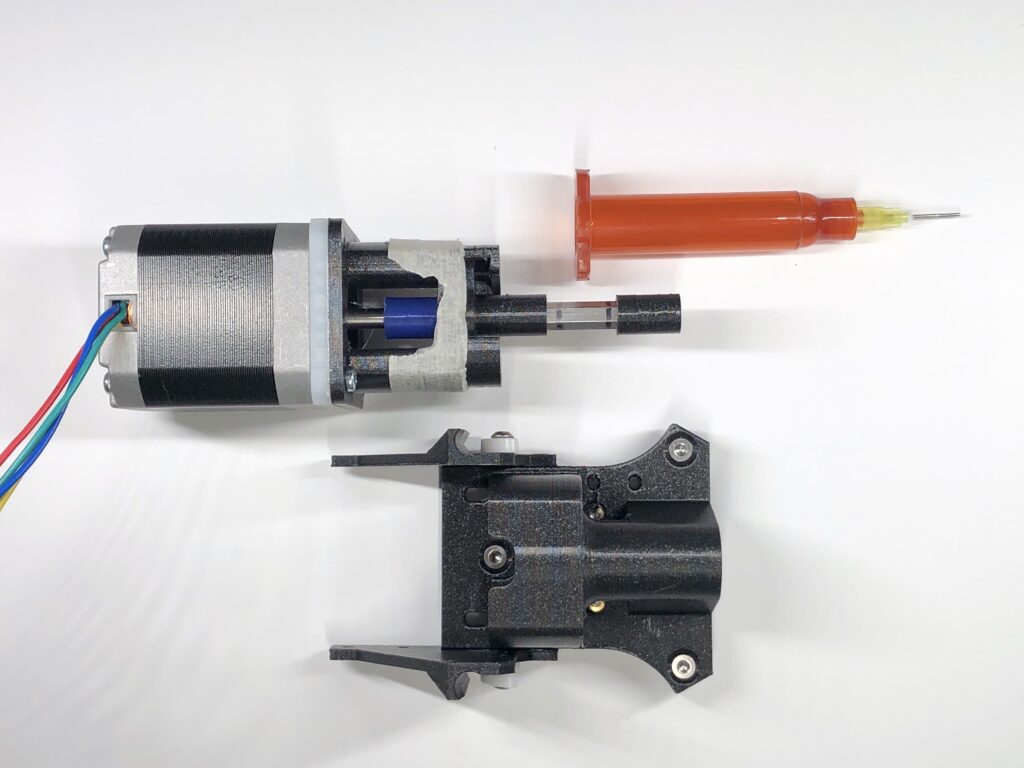
The piece on the bottom is the toolchanger interface. It is 3D printed, and is a press-fit connection to the other main piece.
The extruder drive has a few parts:
- Nema 23 stepper
- Stepper to screw adapter
- Screw
- Hex standoff
- Extender piece on hex standoff
- Luer-lock. I’m using a UV opaque syringe in the image since Syraya Tech UV resin is being used as test print material.
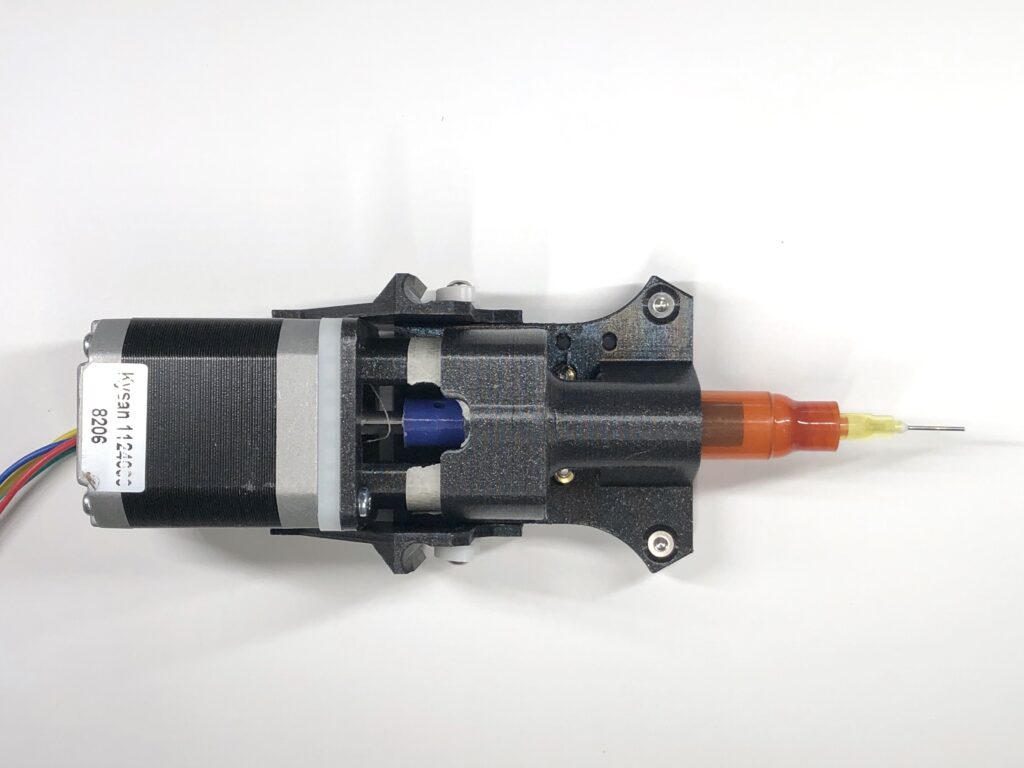
- Main assembly. The piece at the top was the hardest to design, since the 5mL luer lock syringe is pushed in, then is rotated by 45º to lock in place. I added some tape to the outside since the 3D printed connection to the toolchanger interface is hard to do with a lot of precision. 3D prints typically come out with wall thicknesses about +0.150microns thicker, but can vary by +-50 microns so this took some testing and even then needed some tape.
The assembled tool: